
Well here it is! Finally!! There are a few finishing touches that will have to wait until either I win the lottery, or my husband gets a job.
One of those touches will be wall art. My walls are bare, but I'm okay with that. Part of the reason is because of our limited finances, but the other part is I haven't found exactly what I want. And I'm not willing to settle. I'm thinking along the lines of vintage/antique botanical prints, but that could change. What I've found is either too small or costs a fortune.
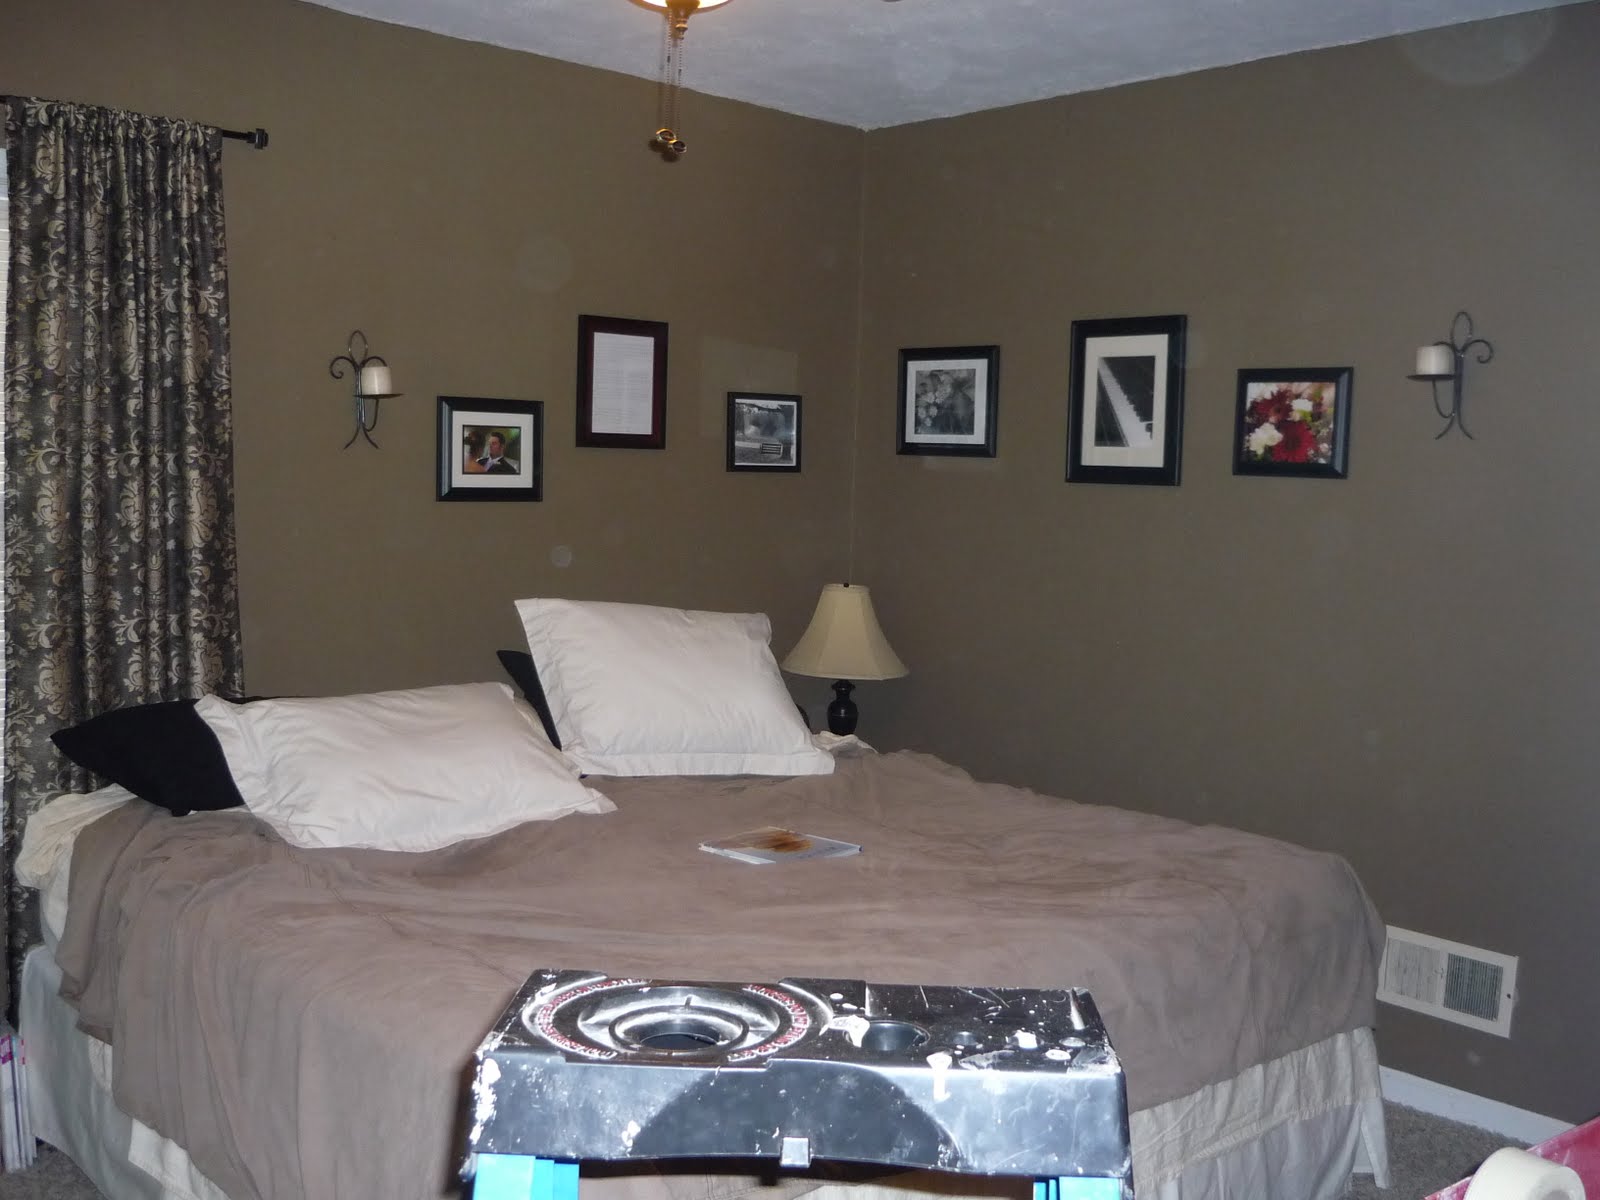
Yes, I know this before picture is as bad as it gets... Kind of like those before and after acne commercials. The before picture is no makeup, probably-just-used-steel-wool-to-wash-their-face, and after is brushed up, makeup on, great lighting... I tend to forget the "before" picture until I'm already starting the project, hence this pic, but you get the idea.
{before}

{after}

{the floral pillows are huge and square, and match the wall beautifully, and were a great price from TJ Maxx, and I love them}

Another great perk is that 2 out of the 3 sets of bed sheets I have go great with the new decor. Not that I don't love any opportunity to get fun new bed sheets, but remember we're on a budget here.
{new bedspread was also a great deal from TJ Maxx. In love with that store}

I'll probably keep my eye open for a couple more throw pillows. Maybe some fun contrasting colors.
{for the front throw pillow I recovered an existing pillow with an old pillow case I had. Totally free.}
Another project for installment two of the redo will be making a headboard... I think it will set the bed apart and really make it stand out.
On to the curtains. I decided to raise them to 92" to make the room feel bigger and the ceilings feel taller. My mom just happened to have this great material that she was going to use in her living room, but decided not to. And it just happened to match perfect with the room. What a beautiful coincidence :)
I actually used the back side of the material. It had kind of a gold-ish, shiny look to it, but the back side was a muted version.

{sorry about the camera lighting being so bi-polar}

I only had enough material for three panels, which it totally okay with me (corner windows are such a pain... four panels is too much material, and one panel on each end looks odd). Figuring out how this would work with my two separate curtain rods took a bit of thought..

... So my DIY fix was a little bit of electrical tape. I positioned the rod brackets a little off center to compensate (you can easily see this in all of the pictures). This was all a guessing game. Trial and error. I wasn't sure that it would hold... Would it sag? But amazingly, the rod brackets (which allow you to screw the rod onto the bracket to keep it secure) did great.

I lined the curtains with blackout material. It just so happened to be 60% off when I was at the fabric store, and I just couldn't pass up $2.40/yard! I bought enough to do Baby's curtains as well. Lemme tell you though, 18 yards of anything is a little intimidating :) But I couldn't be happier with them.


I love our house. I really do. I think the crooked walls and floors give it character. But they also make hanging doors (and crown moulding) a headache. Aside from that, a door is just another expense I didn't want to deal with at the time, so I bought a $5 sheer panel, and hung it with a rod I already had. Honestly, I love it. I grew up with a curtain as a closet door. You can kind of see through it, but not details.

Another project that will happen after I strike it rich or husband is working again will be getting thin trim pieces to make 2x3 "boxes" that will go around the bottom half of the wall, giving it the appearance of colonial paneling. I priced the trim, and it was going to be over $100. Ick. But this classy masking tape gives you the idea. (It didn't show up great in the picture, just dig deep and put your imagination in over-drive)

Alright, I need your opinion. Chris and I both have this black lamp base (his shade is lighter). I bought some shiny silver spray paint that I thought I wanted to use on the lamps to help brighten everything up. I'm just not sure though. I kind of just want to go for it. But will I regret it? I also thought about doing something fun with my night stand. Painting the baskets maybe? I'd love any ideas you have!

And just because I love to look back and forth from before and after pictures, I'll leave you with one more...

{my oasis}
The estimated breakdown of everything so far:
- crown moulding & chair railing (with the help of a small gift card) - $120
- paint - $50
- bedspread - $50
- two ginormous pillows - $40
- curtain - $18
- closet "door" - $5
Total - $283
No comments:
Post a Comment